Instead of setting up an automation step by step, you describe what you want in plain words, Hubflo’s AI assistant asks questions if it needs more details, builds the automation, and checks with you before it makes any changes in your Hubflo account. You can also look up information and have the AI assistant do one-off tasks for you.

Go to Studio > Home or start from Automations > New Automation > Create with AI.
Describe what should start the automation and what should happen next. For example: "When a client signs up, create their onboarding tasks and notify my team in Slack."
Answer any questions the AI assistant asks.
Review the plan it shows you, click Build it, and approve it.

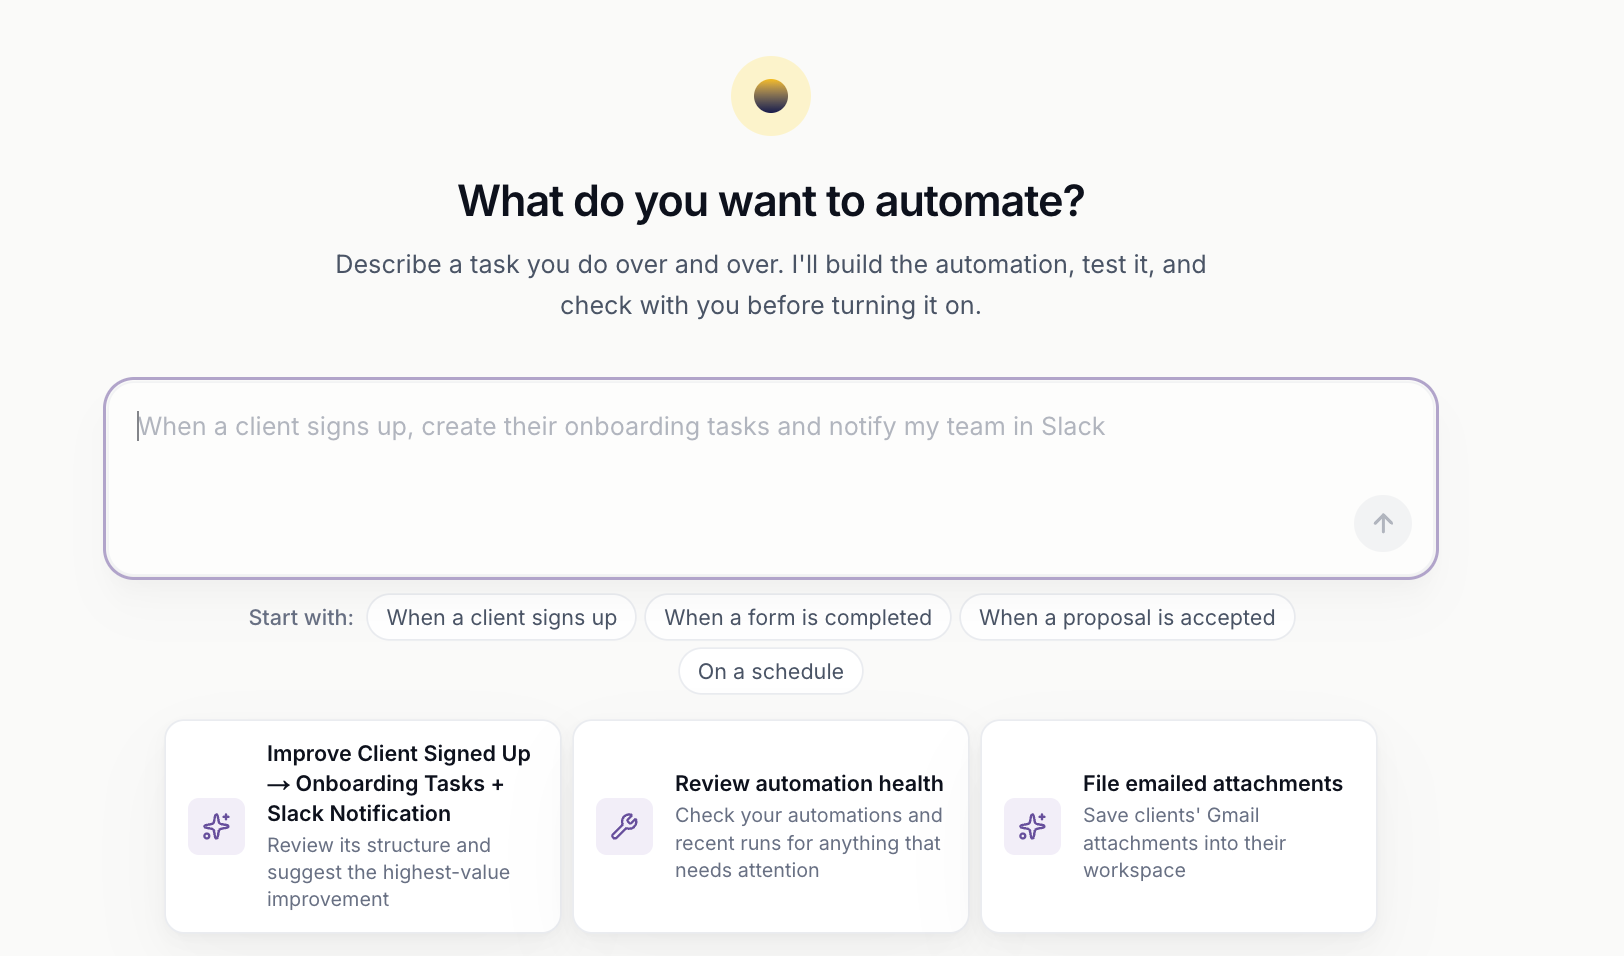
Be as detailed and specific as possible. The more Hubflo knows up front, the better the result and the fewer questions it needs to ask. A good request includes:
What starts it: "When a client completes the onboarding form…"
What should happen: "…create a kickoff task and send them a welcome email."
Provide details: the name of the form, who gets the task, which app to use.

Building an automation with Hubflo’s AI assistant is a conversation. As it works, you'll see three kinds of messages:
Progress updates: cards like Looking up triggers and Looking up actions show what Hubflo is checking. When a card shows Completed, that step is done. You don't need to do anything, but you can click the arrow to see the details.
Questions: when Hubflo needs more details, it asks you, often with options to click. For example, it may ask whether you want "A fixed set of tasks I'll define now" or "Tasks from an existing task template." Click an option or type your own answer.
Approval requests: before Hubflo’s AI assistant makes a change in your account, like creating the automation, it asks for your approval. See Review and approve your automation below.
If a reply isn't helpful, click Regenerate under it to get a new prompt.
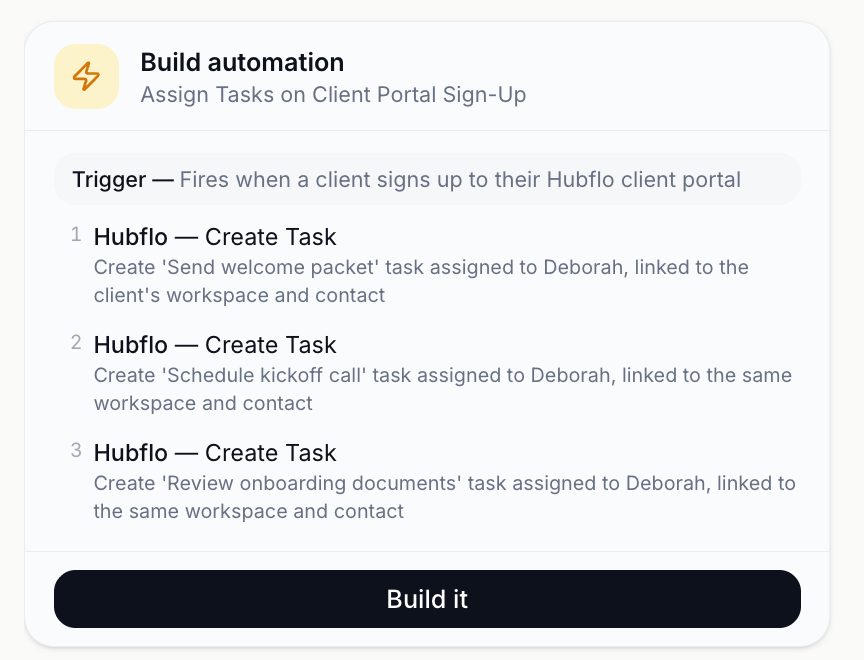
When Hubflo Studio has everything it needs, it shows a Build automation card that summarizes the plan:
The automation's name, for example "Assign Tasks on Client Portal Sign-Up"
The trigger: what starts the automation
The steps, numbered in the order they'll run, with details like task names and who they're assigned to
Read through it carefully. If something isn't right, tell the AI assistant what to change in the chat, for example: "Assign the kickoff call to Marie instead."
When you're happy with it, click Build it.
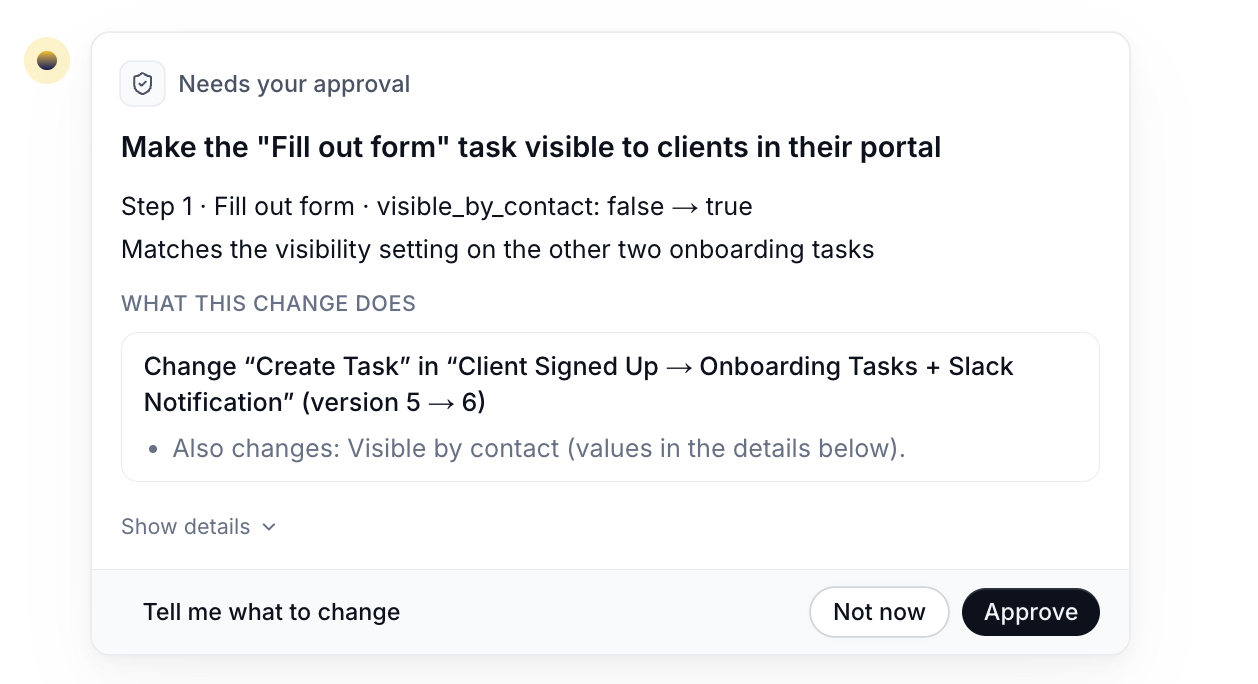
Hubflo Studio works in your real Hubflo account, so it asks for your approval before making any changes. After you click Build it, a Needs your approval card describes what Flo is about to do in plain words, for example "Create automation: Assign Tasks on Client Portal Sign-Up," followed by the trigger and what the steps will do.
On the card, choose one:
Approve: Hubflo Studio’s AI creates the automation.
Tell Hubflo Studio what to change: describe what you'd like to change, and it updates the plan before asking again.
Not now: Hubflo Studio doesn't create the automation, but it keeps the plan and recaps it in the chat. When you're ready, come back to build it.
To see the full technical details, click Show details. You don't need them to approve, but they can help if someone on your technical team wants to check exactly what the AI assistant will do.
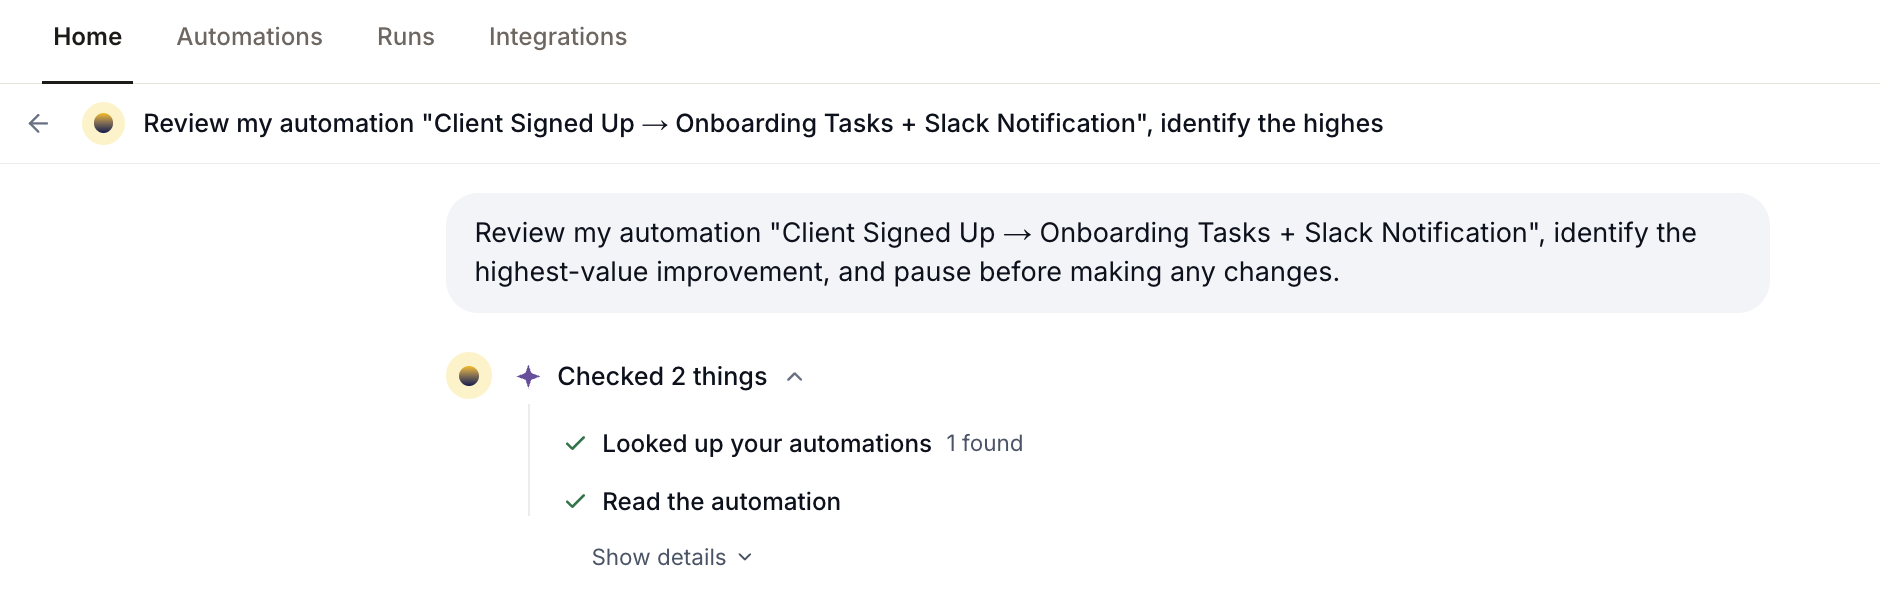
Hubflo Studio saves your conversations, so you can leave the page and come back to an automation later. Your recent conversations appear under Recent conversations on the Home tab. To see all of them, click View all or the clock icon at the top of the page, then search by title.

Once you approve, your automation appears in Studio > Automations. It stays off until you activate it, so test it first to make sure it works the way you expect. See Test and activate an automation.
The AI assistant built something different from what I wanted. Tell the AI assistant what to change in the same conversation, for example: "Assign the task to Marie instead of me." You can also edit any step manually. See Build an automation manually.
The AI assistant says it can't use an app. The app probably isn't connected yet. Go to Studio > Integrations, click Connect on the app, then try again.
💬 Still have questions? Start a chat with us or email [email protected]. We'll be happy to help.