Hubflo Studio automates the repetitive parts of your client work. You map out a process you already follow, and Studio turns it into an automation that runs on its own every time something happens. For example:
When a client signs up, assign their onboarding tasks, send them a welcome message, and update your CRM.
When a client completes a form, create tasks for your team and update your project management tool.
When a proposal is accepted, send the client a kickoff email.
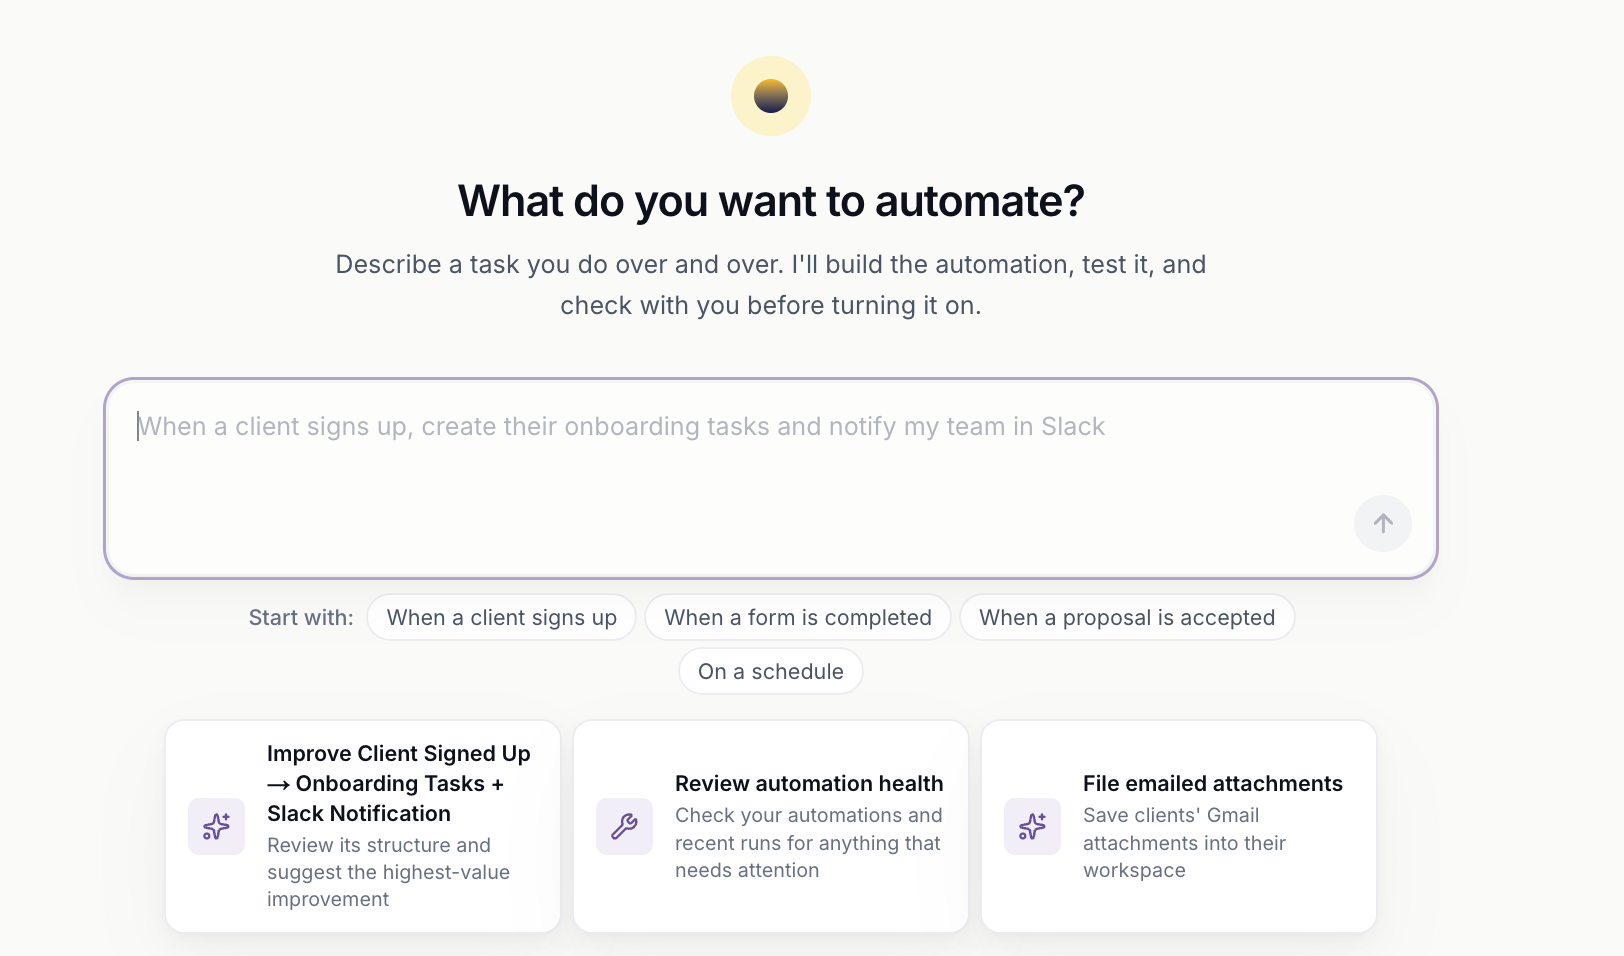
You don't have to build automations from scratch. Describe your process to Hubflo Studio’s AI assistant and it builds the automation with you. You can also set one up manually.
Automations can work with the other tools you use. Connect apps like HubSpot, Pipedrive, and Google Drive in a few clicks, or connect any other tool that has an API using an API key or OAuth connection.
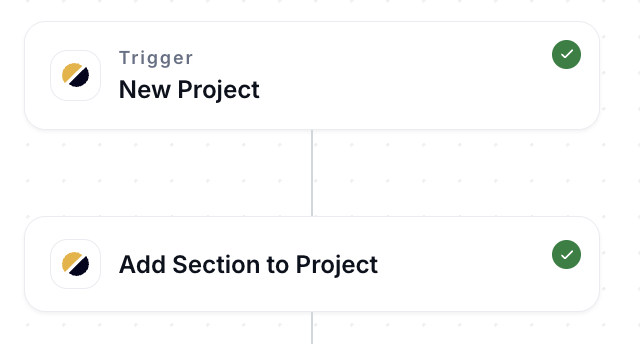
Every automation has two parts:
A trigger: the event that starts it, like a client signing up.
One or more steps: what happens next, like creating tasks or sending a Slack message.
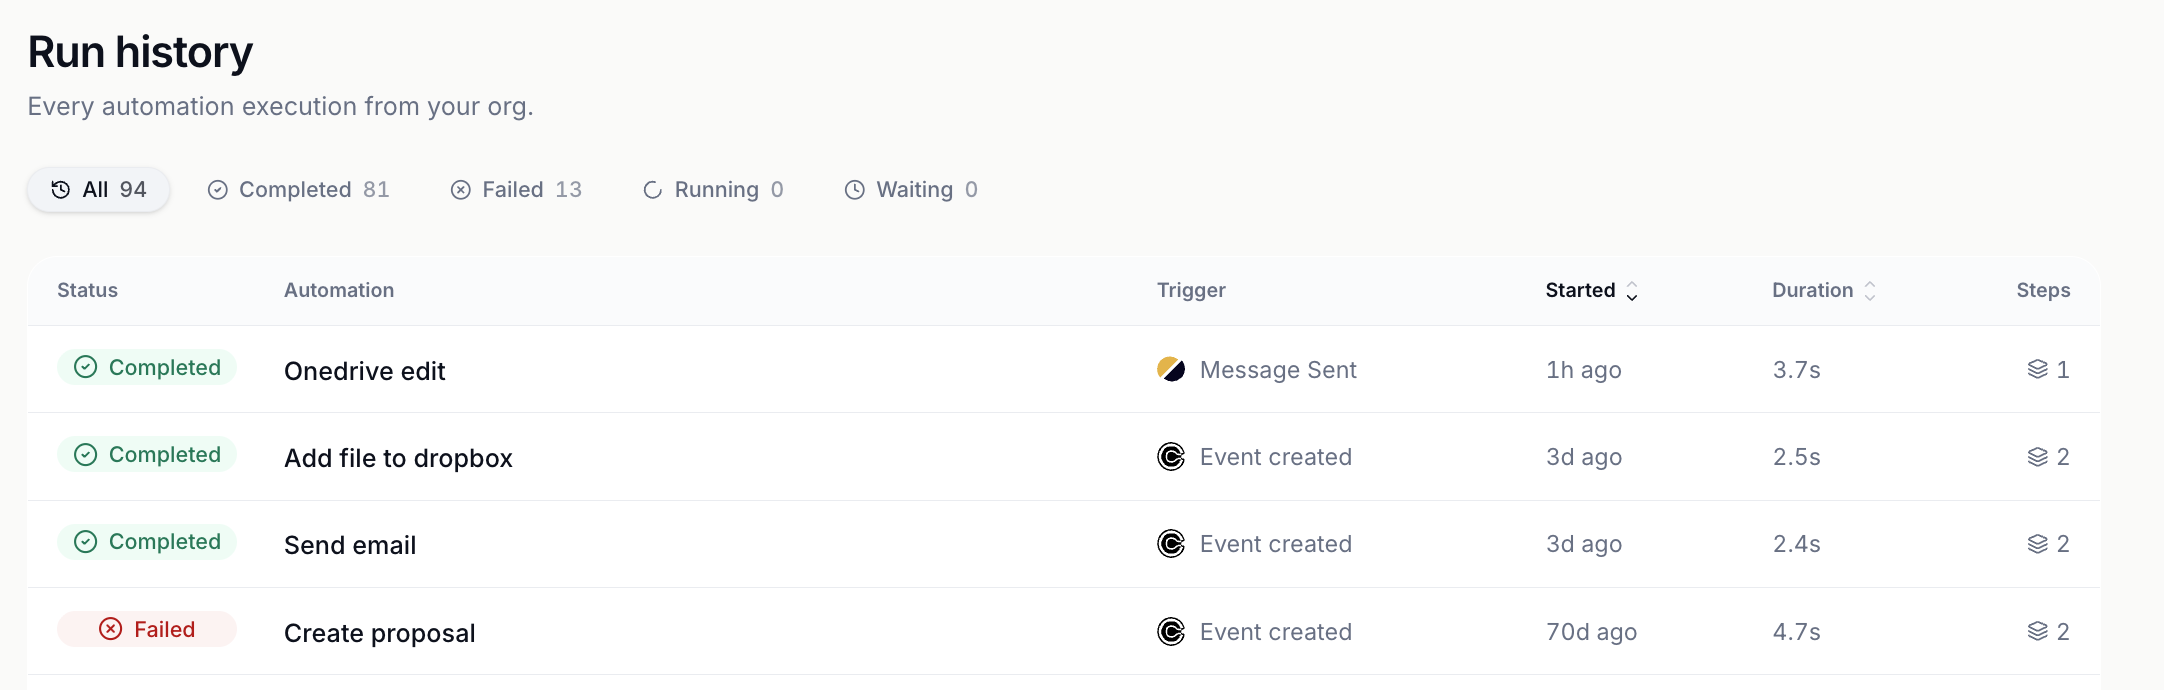
Each time an automation runs, Studio records it as a run, so you can see what each step did.
To get started with Studio, click Studio in the left sidebar. You'll find four tabs:
Home: Describe an automation to Hubflo’s AI assistant and see your recent conversations, automations, and runs.
Automations: See, edit, and create new automations.
Runs: See every time an automation ran, and whether it worked.
Integrations: Connect apps your automations can use.
Go to Studio > Home.
Describe what should start the automation and what should happen next. For example: "When a client signs up, create their onboarding tasks and notify my team in Slack."
Answer any questions asked. Hubflo’s AI assistant checks with you before it makes changes in your account.
Test the automation, then turn it on.
Copy any of these into the AI assistant and adjust the details:
"When a client signs up to their portal, send the intake form, create their onboarding tasks, and notify my team in Slack."
"When a proposal is accepted, create a project and add tasks."
"When a client completes a form, create or update their contact in HubSpot."
"When a meeting is booked in Calendly, create the client's workspace and send them the intake form."
💬 Still have questions? Start a chat with us or email [email protected]. We'll be happy to help.