Depending on the app, it can start an automation (for example, when a meeting is booked in Calendly) or be a step in one (for example, sending a Slack message to your team).
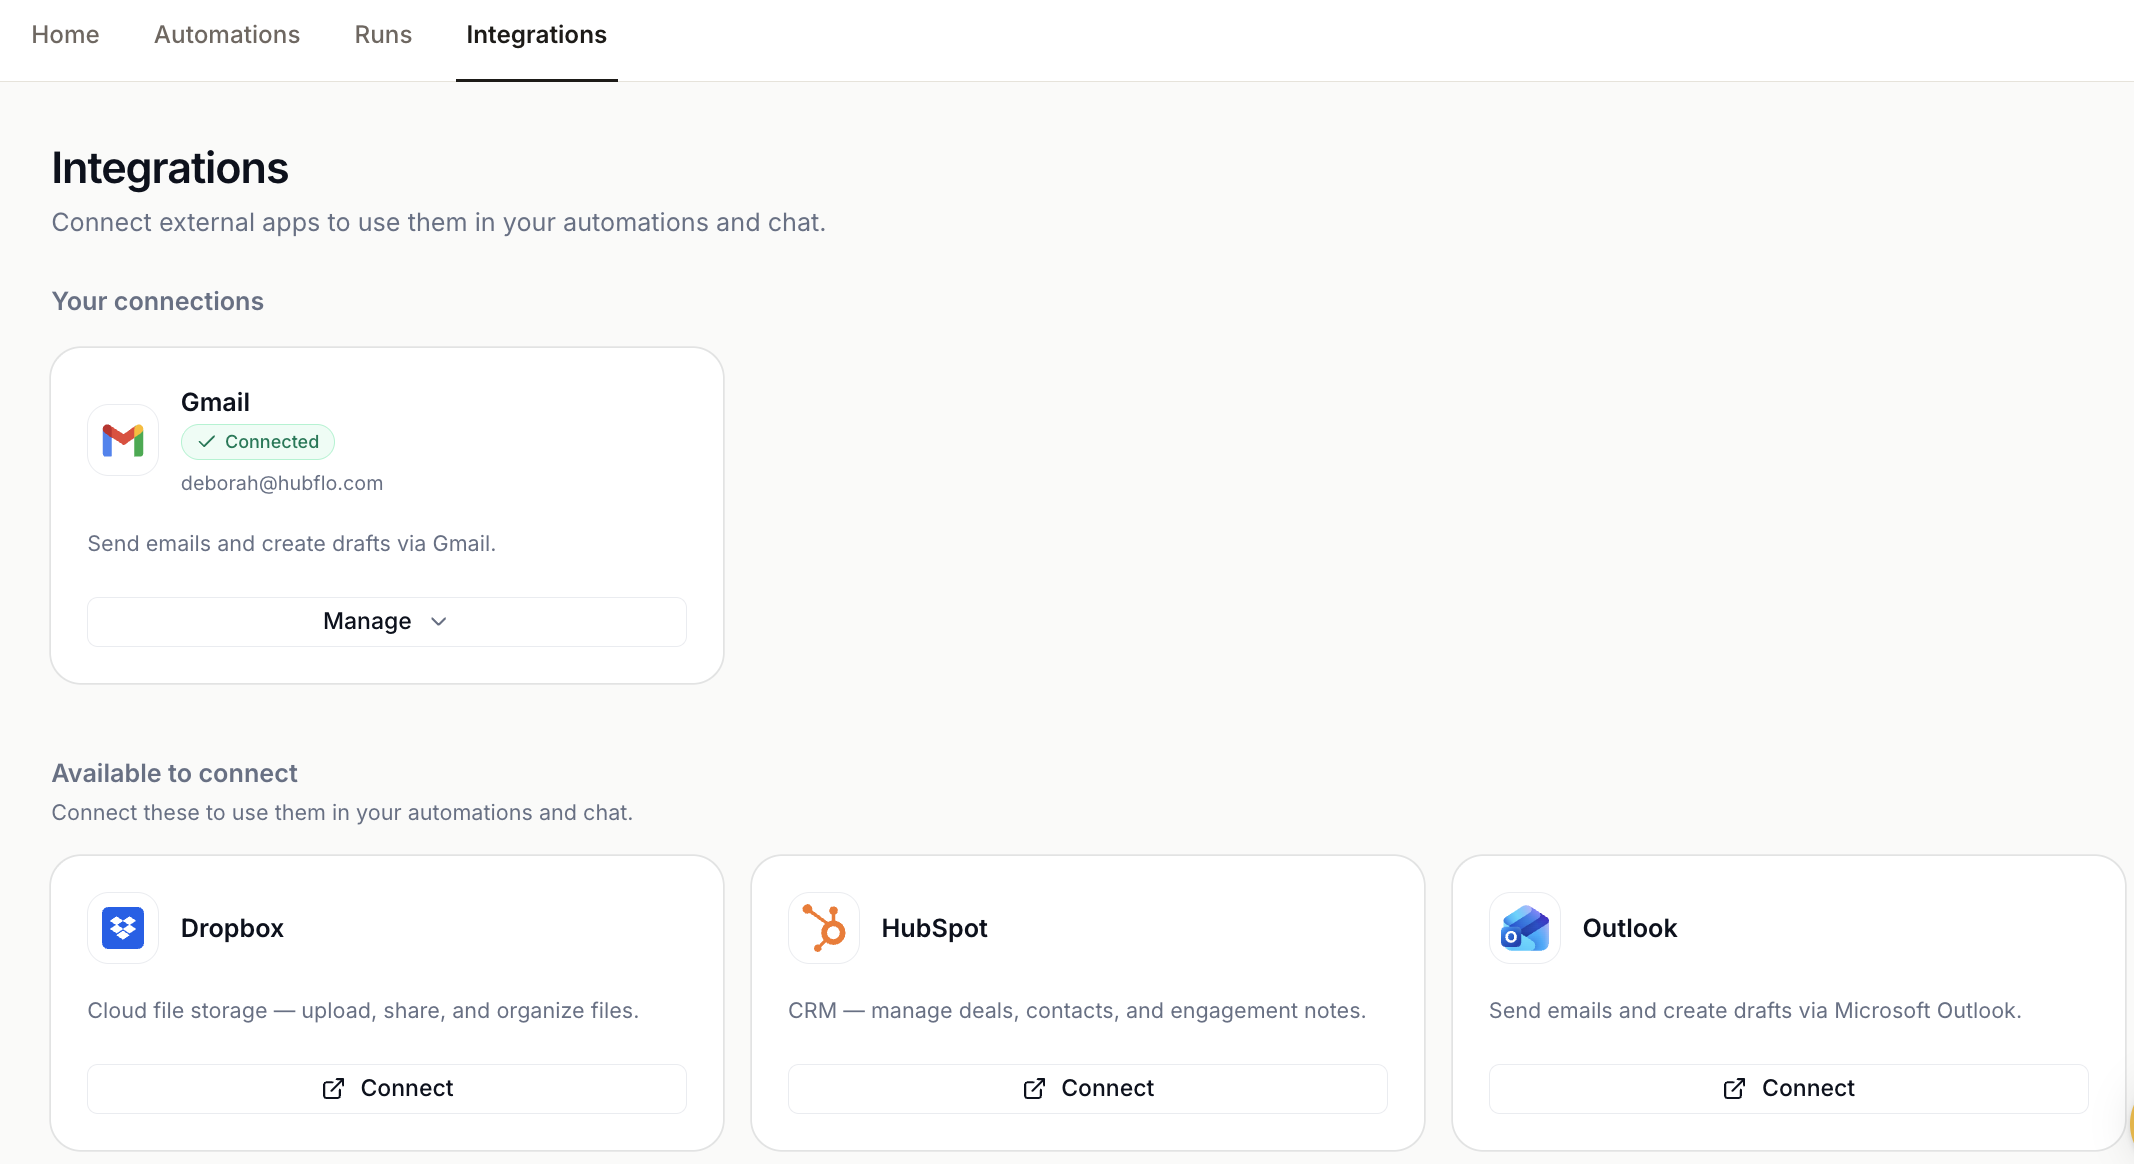
Go to Studio > Integrations.
Under Available to connect, find the app and click Connect.
Sign in to the app and approve access.
App | What your automations can do |
|---|---|
HubSpot | Manage deals, contacts, and engagement notes |
Pipedrive | Add people |
monday.com | Create and update items, boards, groups, and columns |
Slack | Send messages, find channels, and list users |
Microsoft Teams | Post messages to channels, send chats, and list team members |
Gmail | Send emails and create drafts |
Outlook | Send emails and create drafts |
Calendly | Start an automation when a meeting is booked |
Google Drive | Find, create, upload, move, and download files and folders |
Google Sheets | Add rows to a spreadsheet |
Dropbox | Upload, share, and organize files |
Box | Upload, download, search, and manage files and folders |
OneDrive | Upload, download, and browse files and folders |
SharePoint | Upload, download, and manage files in document libraries |
Once connected, the app moves to Your connections at the top of the page, with a Connected label.
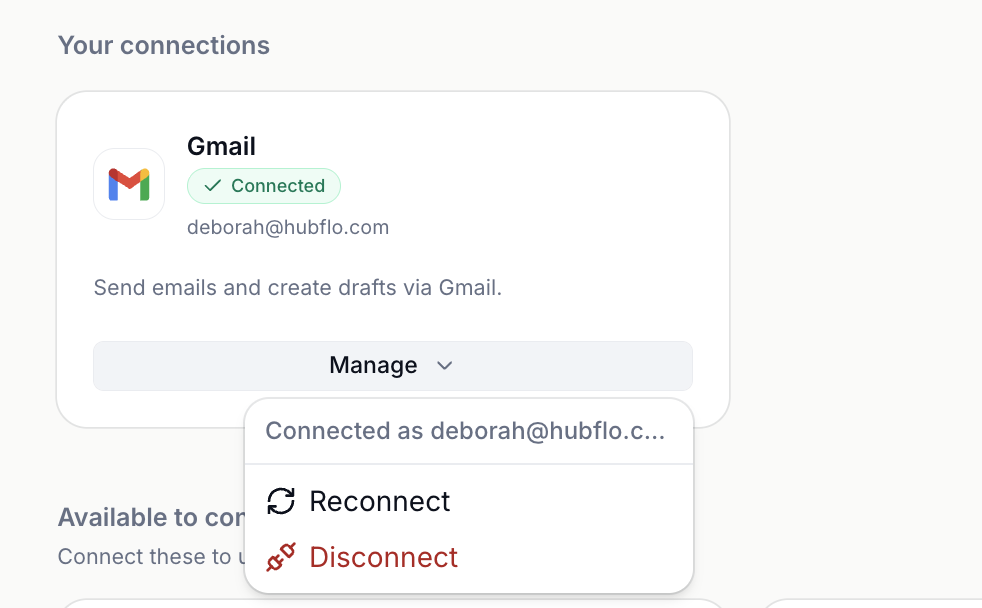
To manage it, click Manage on the app. You'll see which account it's connected as, and two options:
Reconnect: refresh the connection. Use this if steps that use the app start failing, for example after you change your password for that app.
Disconnect: remove the connection. Any automation steps that use the app will fail until you connect it again.
You can still use other apps, as long as they have an API:
To send data to the app or get data from it, add a Make an API request step to your automation. These are usually set up by your technical team.
To start an automation when something happens in the app, use a Webhook trigger.
For a Make an API request step to access the app, first add your login details for it on the Integrations page. There are two ways, depending on how the app handles access. Check the app's API documentation to see which one it uses.
If the app… | Use | You'll need |
|---|---|---|
Gives you an API key or access token to copy | API keys | The key or token, from the app's settings |
Asks you to sign in and approve access | OAuth connections | A client ID and client secret, from the app's developer settings |
Go to Studio > Integrations and scroll to API keys.
Click Add API key.
Enter a Name you'll recognize later, like "XPM token."
Choose the Authentication type, for example Bearer token. The app's API documentation tells you which one to use.
Paste your key or token into the Token field.
Click Save credential.

Use this for apps that ask you to sign in and approve access. Once connected, you won't need to connect again.
Go to Studio > Integrations and scroll to OAuth connections.
Click Add OAuth connection.
Copy the Redirect URL at the top of the form, and add it to the app's list of allowed redirect URLs in its developer settings. It must match exactly, or the app will show an error when you connect.
Fill in the rest of the form using the details from the app's developer settings and API documentation:
Field | What to enter |
|---|---|
Name | A name you'll recognize, like "Acme CRM" |
Authorize URL | The app's sign-in address for OAuth |
Token URL | The address the app uses to issue access |
Scopes | What Hubflo is allowed to access, separated by spaces. Most apps also need offline_access to keep the connection active. |
Client ID and Client secret | From the app's developer settings. The secret is encrypted and never shown again after you save. |
Client authentication | Leave Basic auth header (most common) unless the app's documentation says otherwise |
Use PKCE | Check this only if the app requires it |
Save the connection, then sign in to the app and approve access.
Once your API key or OAuth connection is saved, choose it in a Make an API request step. See Build an automation manually.
💬 Still have questions? Start a chat with us or email [email protected]. We'll be happy to help.